
My posable skeletons (click here to see how to make) use 1/2" PCV pipe with either straight, 45 degree or 90 degree couplers. I wanted to have more range of movement so I made the below PVC Joints for this purpose. The initial concept I used from The Bride of Articulation.
MATERIALS: (the below items may be found at HomeDepot, Lowes, Ace Hardware.....)
7/8" x 48" Wood Dowel
Tee Nut #8 - 32
Screw #8 -32 x 1"
Flat washer for #8 screw
1" or 1 1/4" Drywall screw
TOOLS:
Miter box & saw
Drill
Sand paper or File. Belt sander would be best (http://www.harborfreight.com/1-inch-x-30-inch-belt-sander-2485.html)
13/64" drill bit
Tape measure
Ruler
Pencil or marker
Vise
Perron Halloween Productions copyright 2007-2014
Cut the 48" wooden dowel down to twenty one (21) 2.125" pieces. This will be enough to make 10 joints.
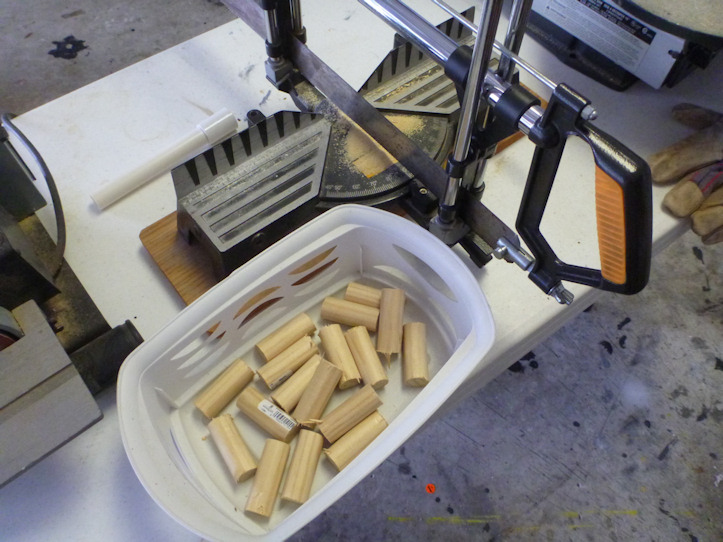
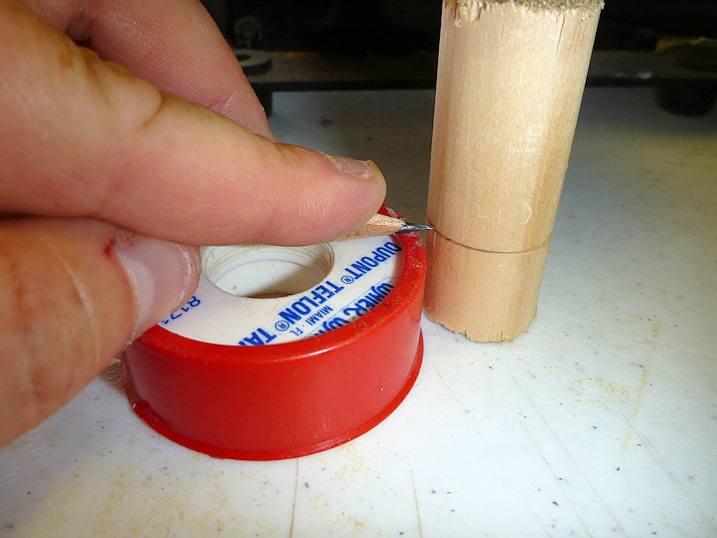
On each piece mark a 3/4" line from the bottom. The Teflon tape dispenser was the right height. I placed the pencil on top and rotated the dowel around to make a straight line.
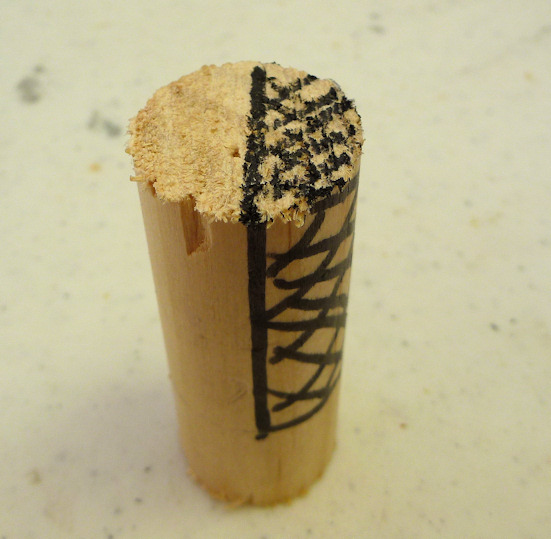
Draw a line down the middle of the dowel. down to the 3/4" line. As you can see by the above photo you will be cutting a notch out.
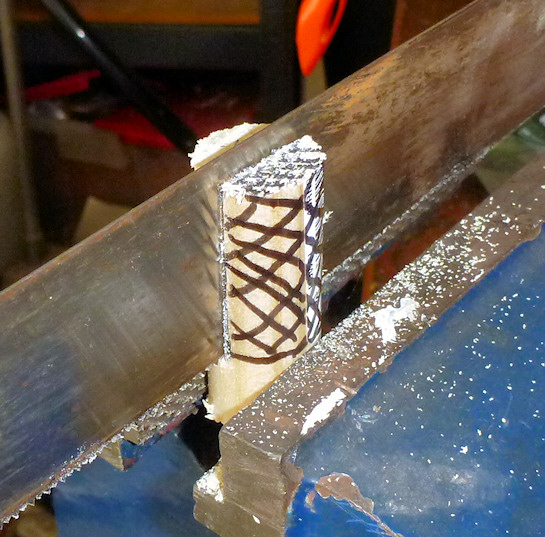
Hold the 3/4" end of the dowel in a vice. Using a saw cut down the middle of the down to the 3/4" line.
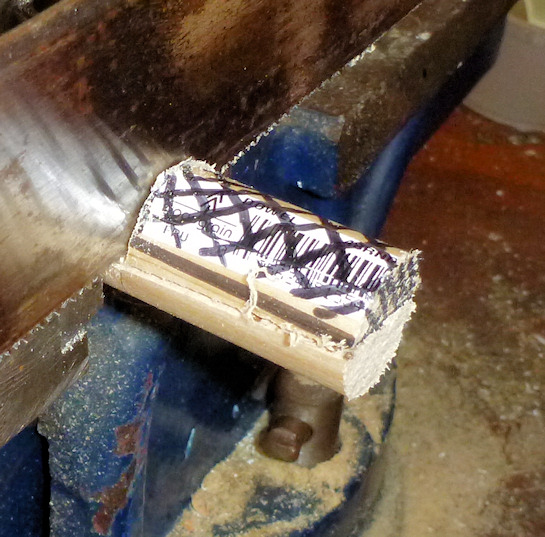
Now rotate the dowel sideways in the vice to cut along the 3/4" line to finish the notch.
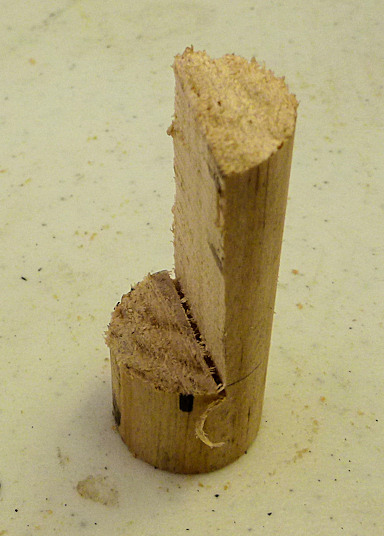
The notch should look like was is shown in the above photo. Do the same process for all pieces.
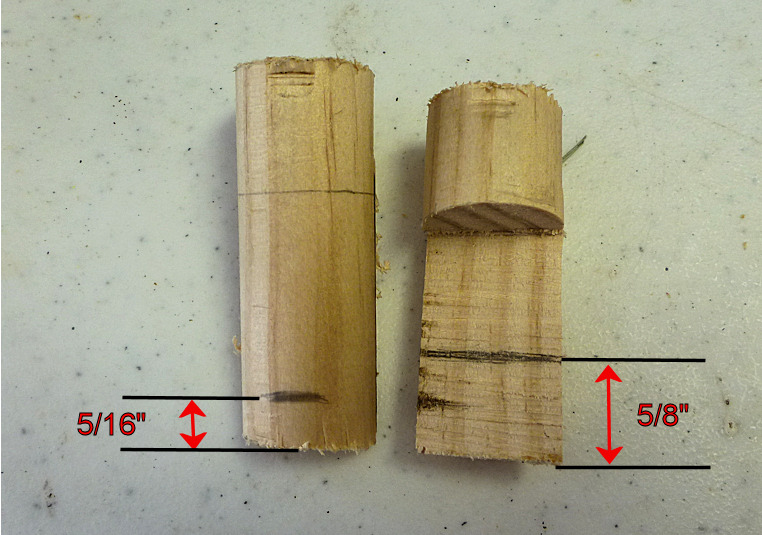
On half of the pieces draw a line 5/16" from the top on the back side. This will be used later for your hole locator. On other half draw a line 5/8" from the top on the side that was just notched. This will be your overlap line
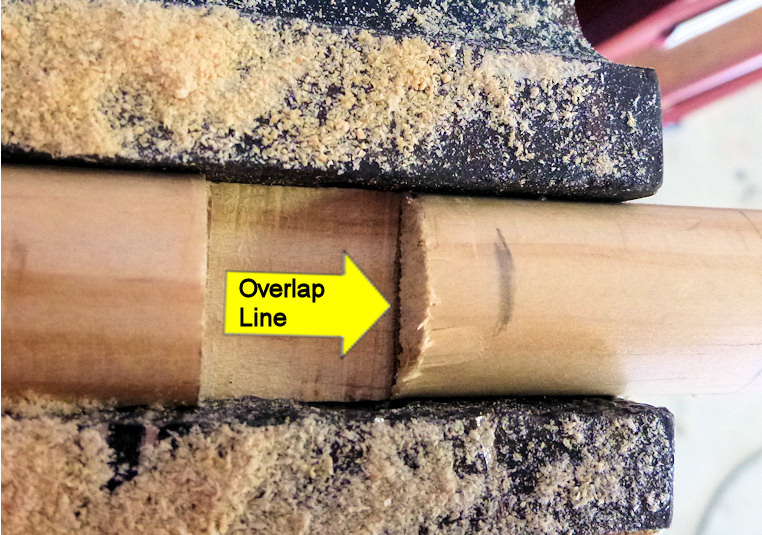
Take the two different halves and put them in a vise so the notched side are facing each other. You will need to adjust the piece with the 5/16" mark so it lines up with the overlap mark on the lower 5/8" piece. Once the pieces are aligned tighten the vise to lock in place.
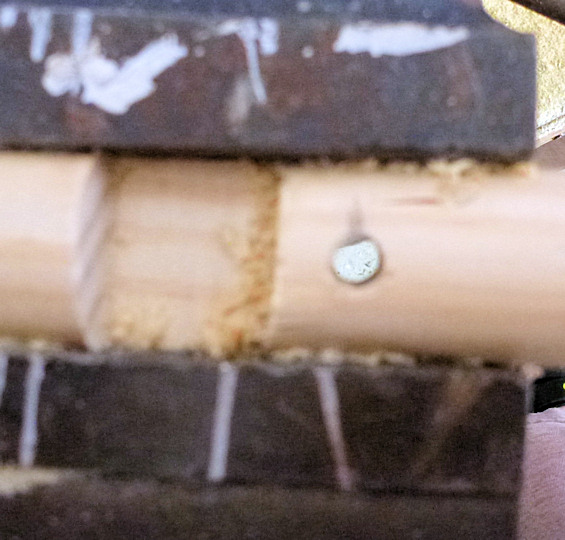
Using a drill with a 13/64" bit, drill a hole in the middle of the 5/16" mark through both pieces. You will want to keep the two pieces pared up.
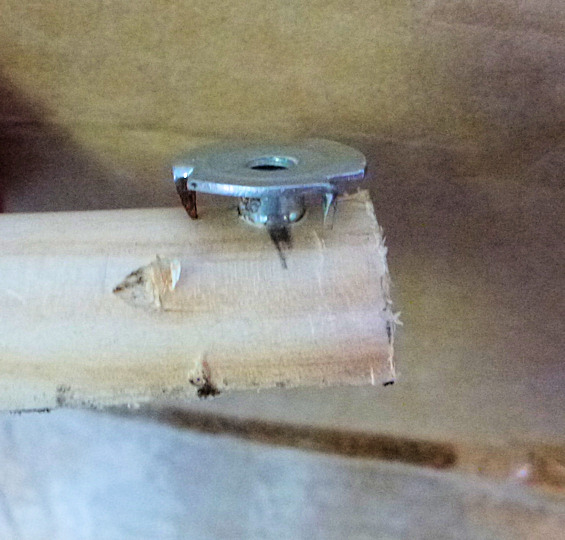
Insert a #8-32 Tee nut into the backside of one of the two pieces.
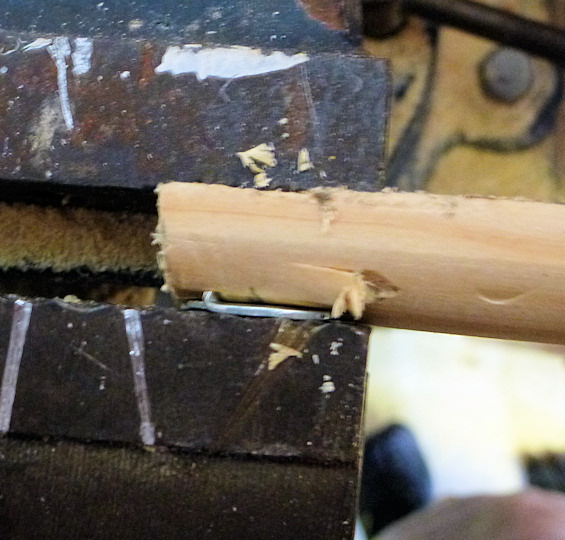
Use a vise to press the Tee nut into the wood.
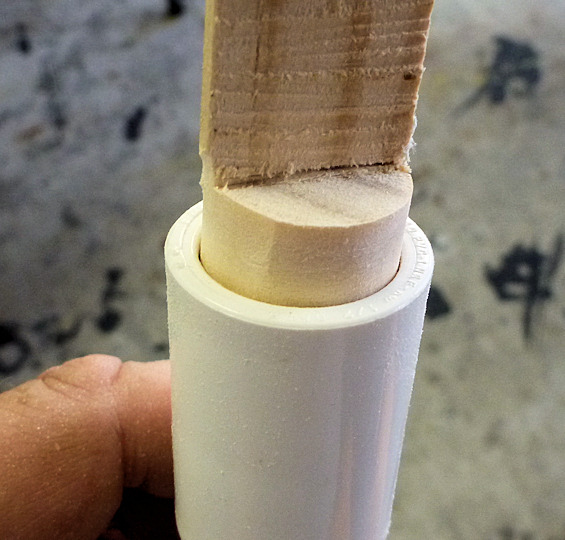
Using sandpaper or file remove material from the 3/4" side so that it slides into a 1/2" PVC coupler. I recommend using a small belt sander if you have one.
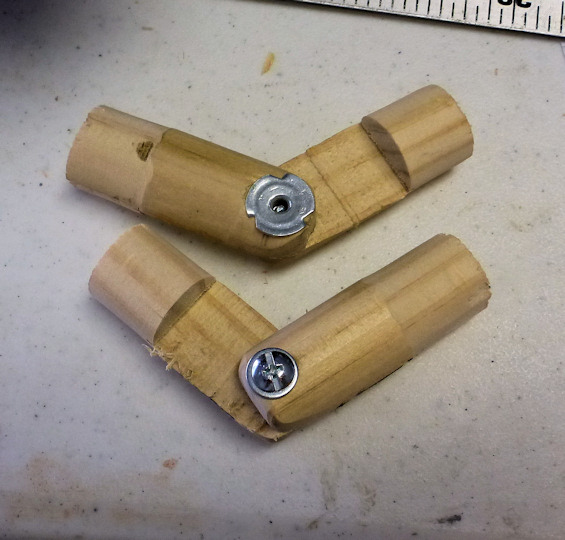
Using a 8"-32 x 1" screw and flat washer you may join the two halves together. Once you have the joint at the angle you want tighten the screw to hold it in place.
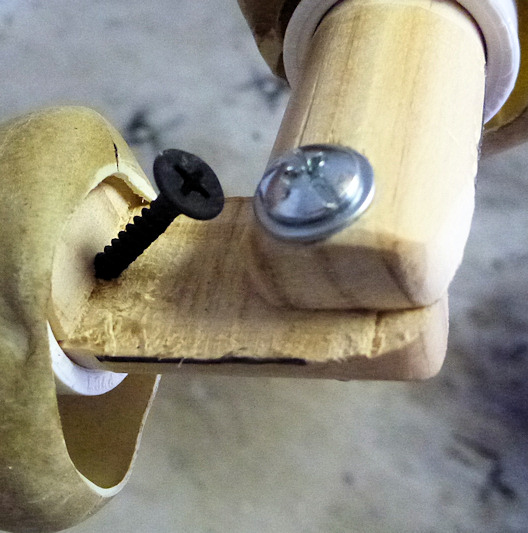
The loose fit of the joint into the coupler allows you to rotate it to the position you want. Once in place use a drywall screw to secure it to the PVC coupler.
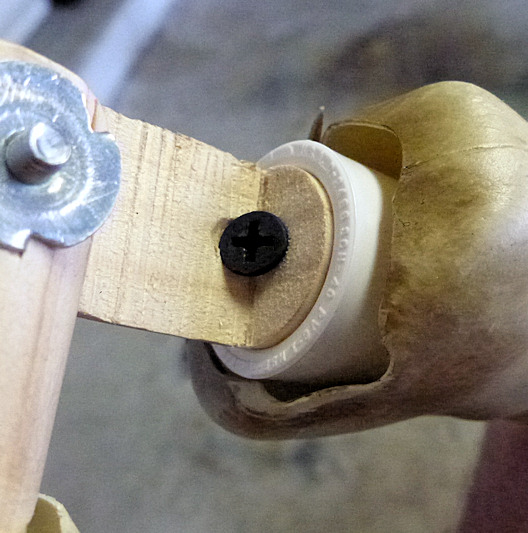
Photo shows the joint fully attached to the PCV coupler.
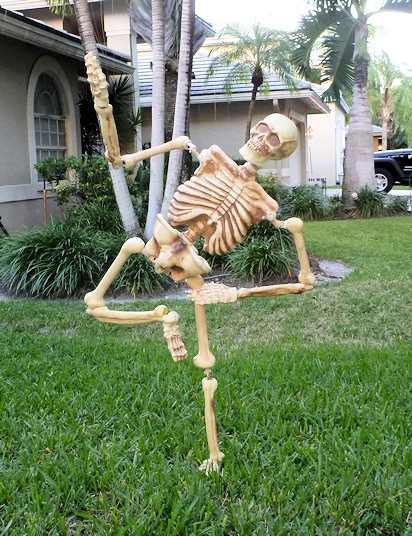
The PVC joint is used in the above posable skeleton.
