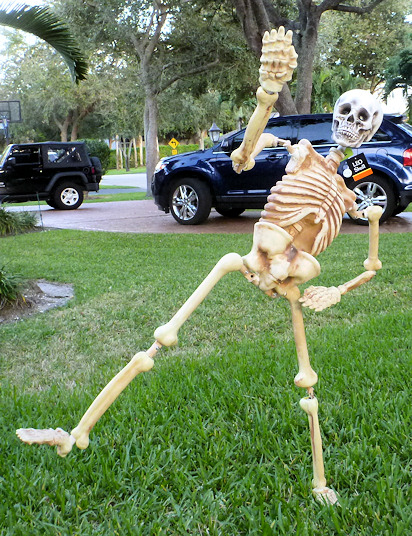
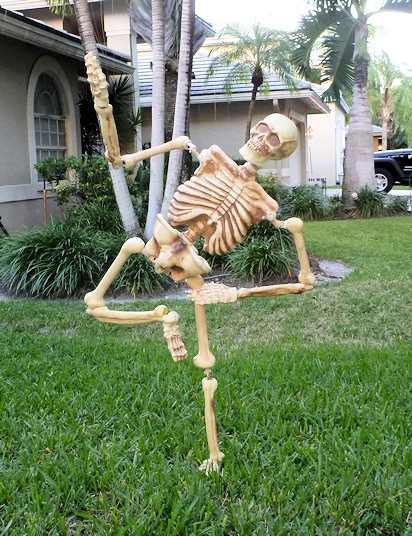
The below guide will show you how to take a hanging skeleton and make it into a posable skeleton. Click on the PDF link to see what size the PVC pipe should be cut to.
MATERIALS: (the below items may be found at HomeDepot, Lowes, Ace Hardware.....)
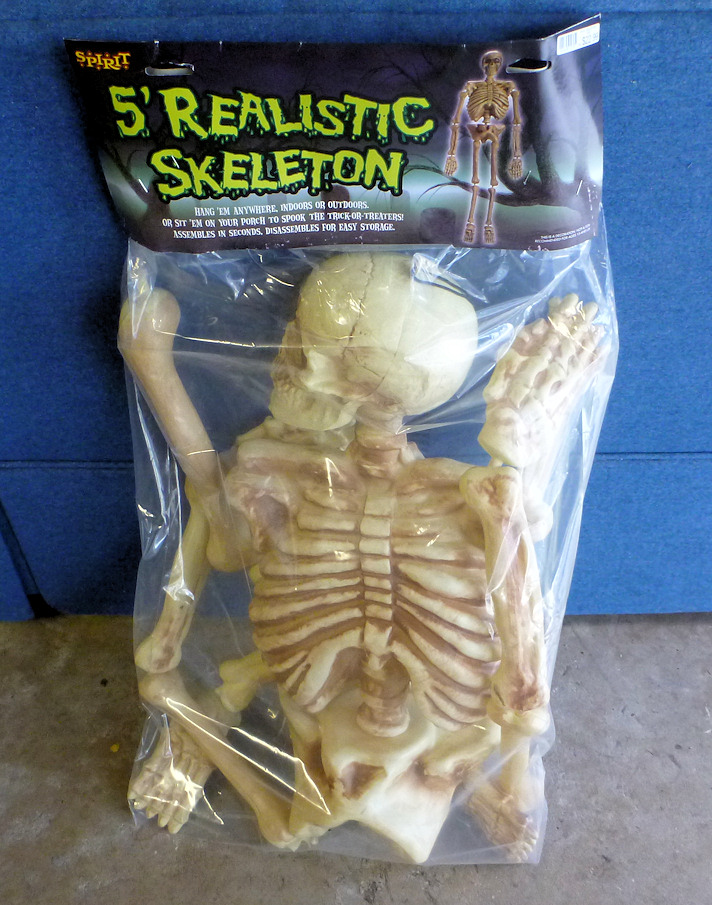
Qty. 1 - 5' hanging skeleton
Qty 8 - Wooden PCV joint (Click here to see how to make)
Qty. 1 - 10' 3/4" thin walled PCV pipe
Qty. 12 - 3/4" straight couplers
Qty. 4 - 3/4" 90 degree couplers
Qty. 1 - 4 way coupler
Qty 1 - Tee coupler
PVC glue
1" or 1 1/4" Drywall screws
TOOLS:
Something to cut the PVC pipe with
Box cutter. Take care as not to cut yourself.
Drill with Philip head screw bit
Sand paper or File. This will me used to smooth any burrs at the end of the PVC pipe when cut.
Tape measure or Ruler
Marker

Perron Halloween Productions copyright 2007-2015
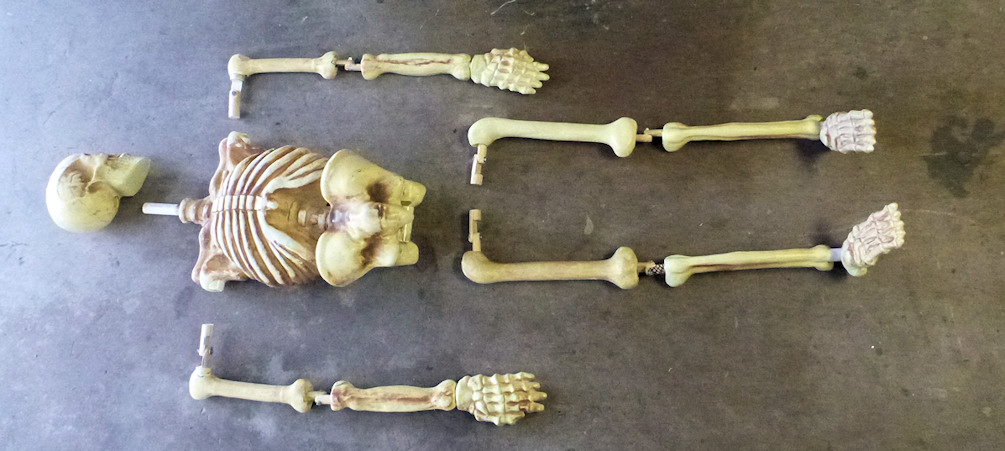
Remove the skeleton from the package and separate the bones.
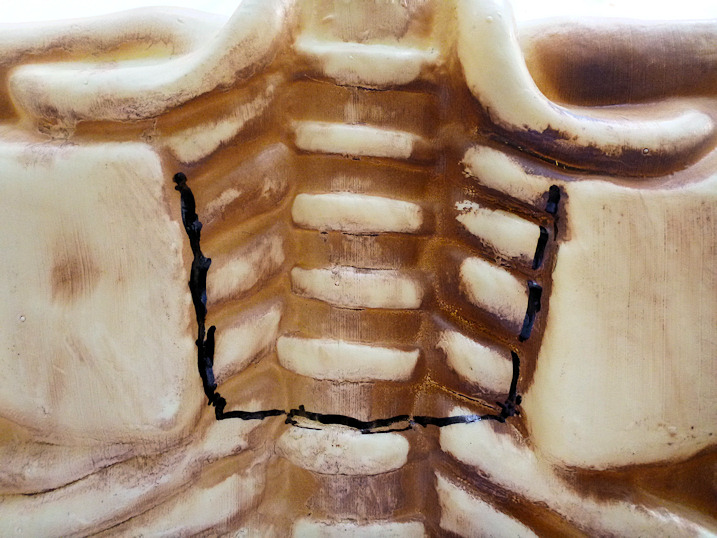
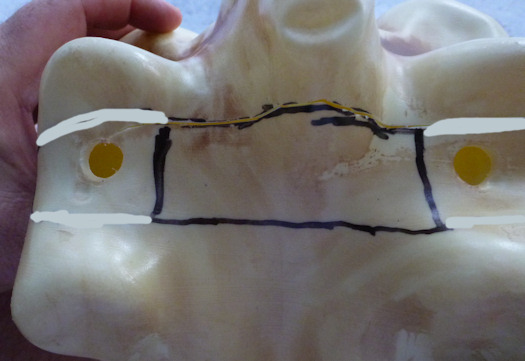
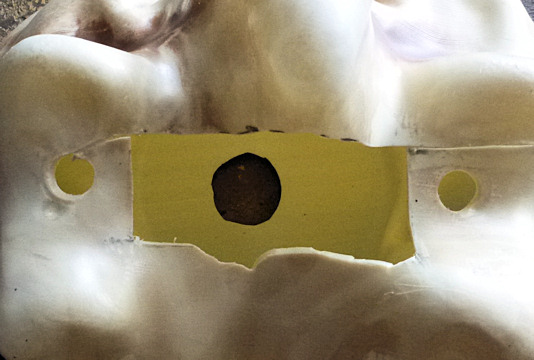
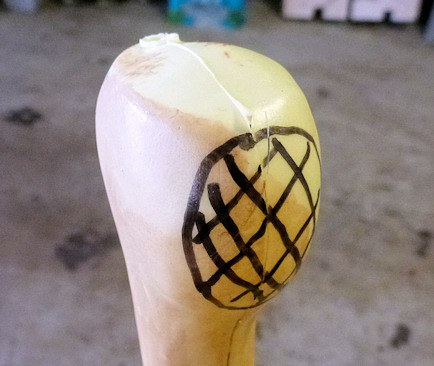
On the back of the torso you will need to cut along the lines as shown in the above photo. You are creating an access flap that will be used later.
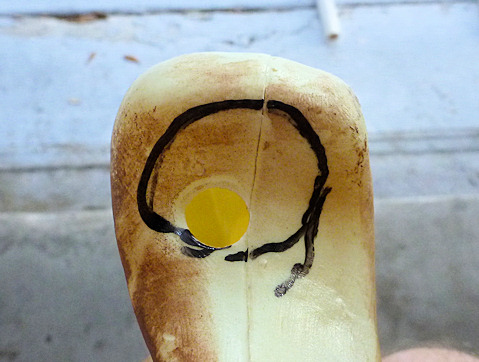
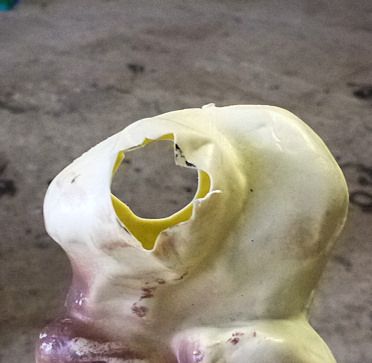
On the top of the neck cut out an opening for the 3/4" pipe to go through. Cut your opening smaller than you think you need. You can always remove material but not add it.
On the bottom of the toroso cut out an opening for the 3/4" pipe to go through.
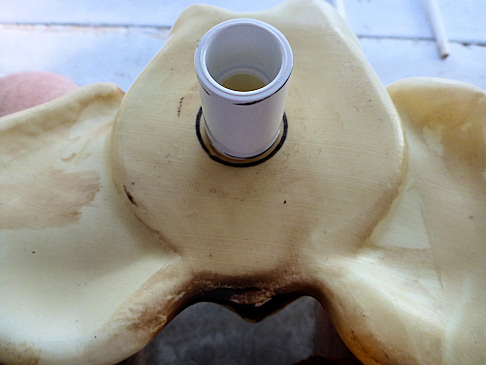
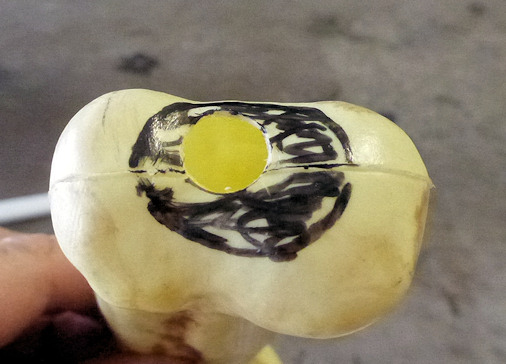
On the top of the pelvis cut out an opening for the 3/4" pipe to go through. You may use a 3/4" straight coupler to trace a circle.
One the bottom of the pelvis need to make a cut out for the Tee coupler to go through. This will allow the pelvis to swivel side to side depending how the legs are posed.
Insert the 13" torso to pelvis pipe through the bottom of the torso. Note the flap is open to aid in connecting to the 4 way coupler.
Slide the pelvis over the pipe and then attched the Tee coupler.
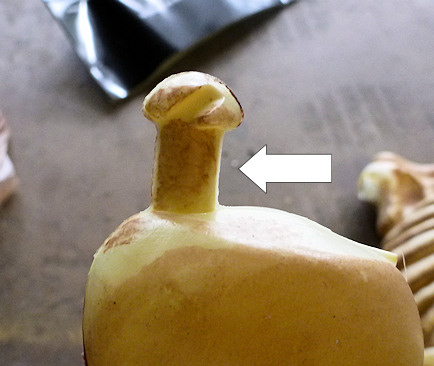
The above photo is of the 6.5" humerus pipe with associated couplers sitting on top of the plastic humerus bone itself. This is the bone that goes from the shoulder to elbow.
Cut away this tab from both humerus bones. You will be cutting away all the bone tabs.
Cut an opening in the top part of the humerus bone. Remember make the hole smaller than you thing as you can away trim it to make it larger, if needed.
Cut an opening in the bottom of the bone.

Above is what the cut out should look like.

Connect the 7" pipe (neck) to the 4 way coupler. Push the pipe through the hole in the neck via the torso flap.
Enlarge the hole on each side of the shoulder. This is were the PVC shoulder joint will come though.
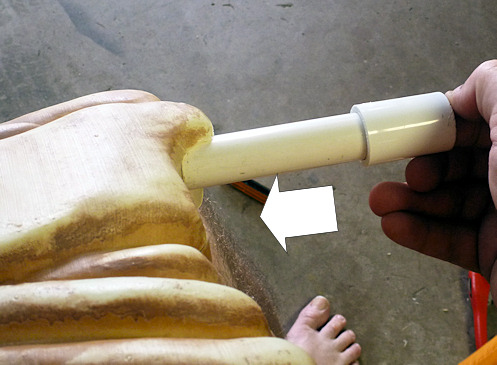
Connect the 4" pipe (soulder) to a straight coupler. Push the pipe through opening you made in the shoulder
I HIGHLY RECOMMEND TEST FITTING ALL THE PIECES FIRST PRIOR TO MAKING ANY PERMINENT ATTACHMENTS AT THIS TIME.
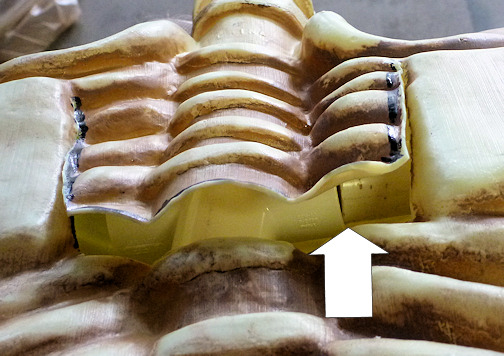
Lifting up the torso access flap will help you connect the shoulder pipe to the 4 way coupler. Do the other shoulder
The straight coupler is just able even with the edge of the shoulder joint for the torso.


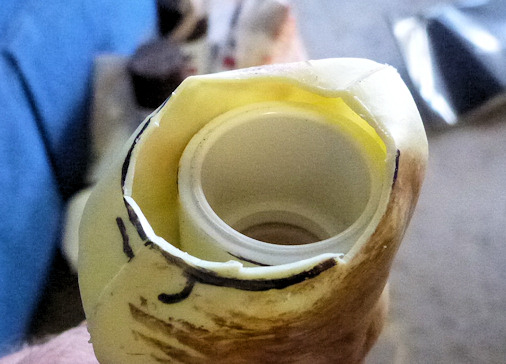
Insert the 90 degree coupler into the top part of the bone.
Attached a straight coupler onto the 6.5" humerus pipe and slide it into the bone until it mates with the 90 degree coupler.
The bottom of the humerus with the coupler should look like the above photo. If the coupler is too far out then you may trim off some to pipe to achieve desired fit.

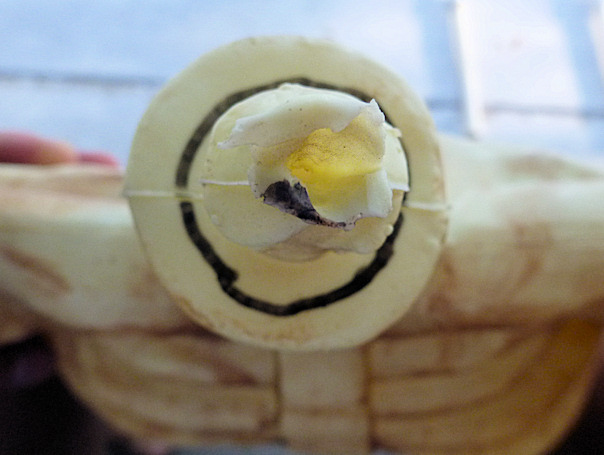
Cut an opening at the top of the ulna/ radius bone. This is the bone that goes from the elbow to wrist.
Cut an opening at the bottom of the bone large enough for the 3/4" pipe to come though.
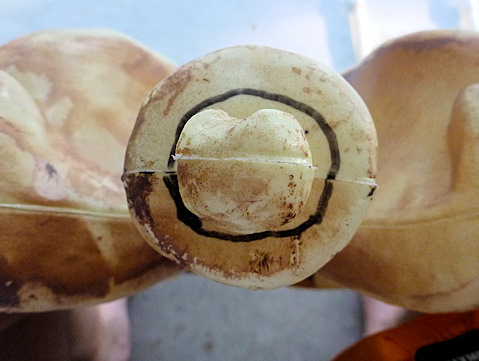
Attached the straight coupler onto the 11" ulna / radius pipe and slide it into the ulna/ radius bone.
The bottom of the ulna/ radius with the coupler should look like the above photo. If the coupler is too far out then you may trim off some to pipe to achieve desired fit.
Cut an opening on the hand for a snug fit onto the 3/4" pipe.
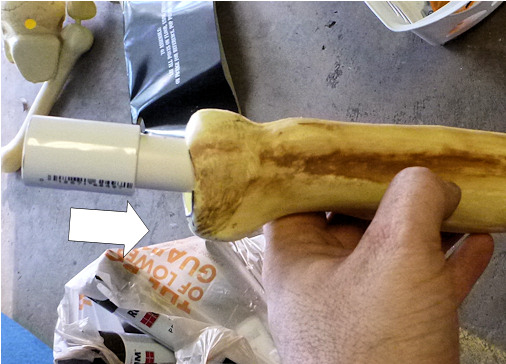
Cut an opening in the top part of the femur bone. This is the bone that goes from the pelvis to knee. Remember make the hole smaller than you thing as you can away trim it to make it larger, if needed.
You may use a straight coupler to trace out the circle for the the lower femur bone cutout.
Insert the 90 degree coupler into the top part of the bone.

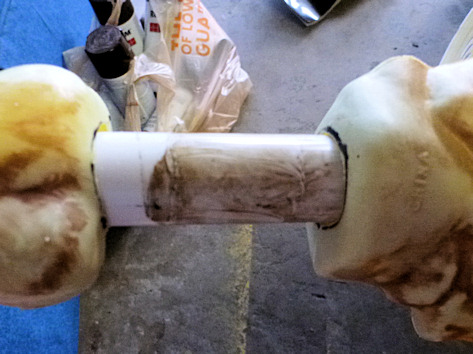
Attached the straight coupler onto the 10" femur pipe and slide it into the femur bone until it mates with the 90 degree coupler. The position of the straight coupler will look the same as the previous bones.
Cut an opening in the bottom part of the tibia / fibula bone for the 3/4" pipe to go through.
Attached the straight coupler onto the 13" tibia/ fibula pipe and slide it into the tibia/ fibula bone. The position of the straight coupler will look the same as the previous bones.
Cut an opening in the top part of the tibia/ fibula bone. This is the bone that goes from the knee to ankle.
Cut an opening on the top part of the foot for the 3/4" pipe to fit in. You will want this hole to line up with the notch that is on the botom of the foot. This is where the pipe will come to rest.
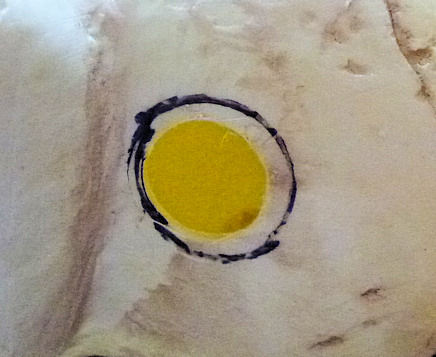
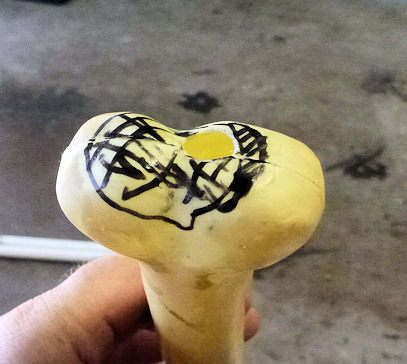
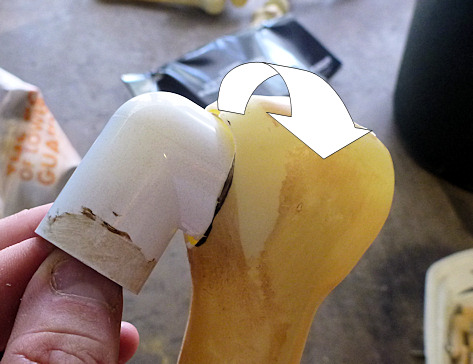
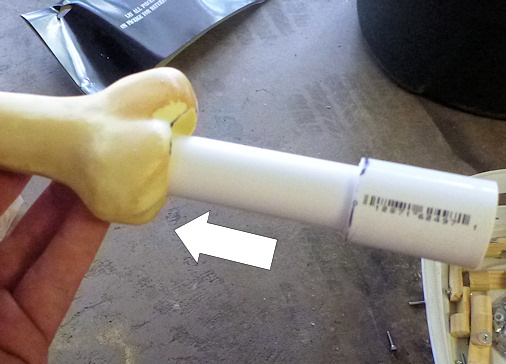
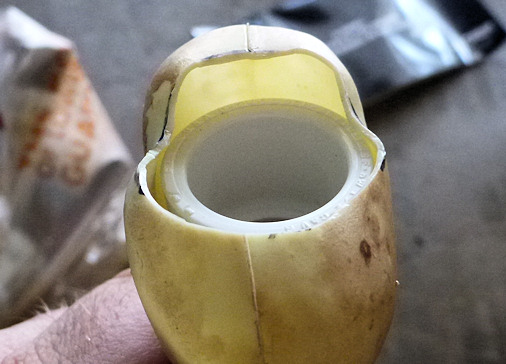
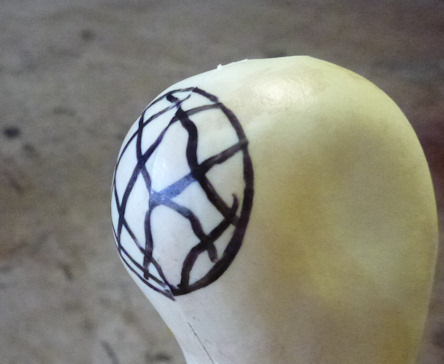
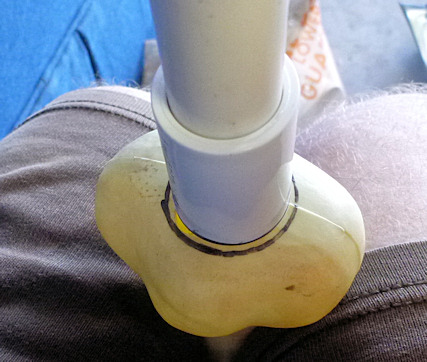
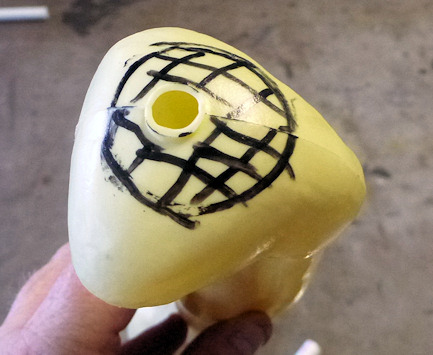
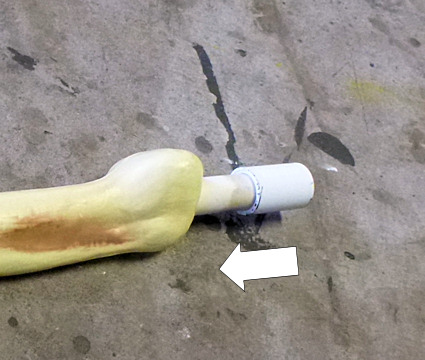
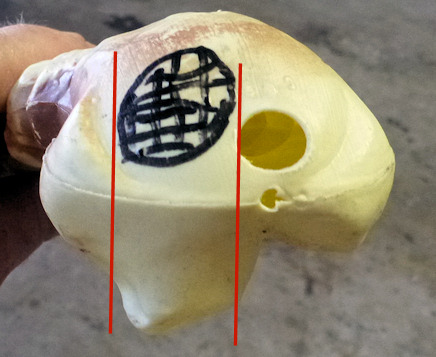
Cut an opening in the bottom of the skull for the 3/4" pipe to go through. You will want a tight fit.
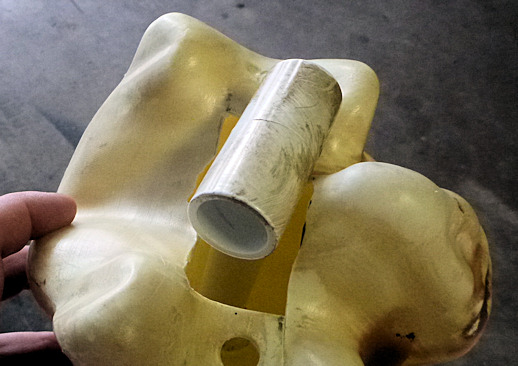
Above photos are the bones fitted with their PVC pipes and wooden PVC joints. Once you are happy with the fit and finish then parentally attached the couplers.
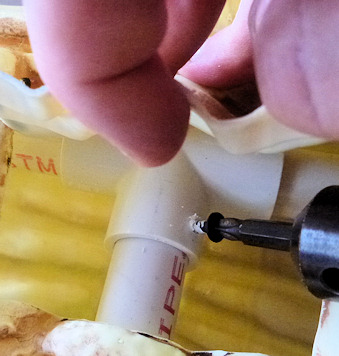
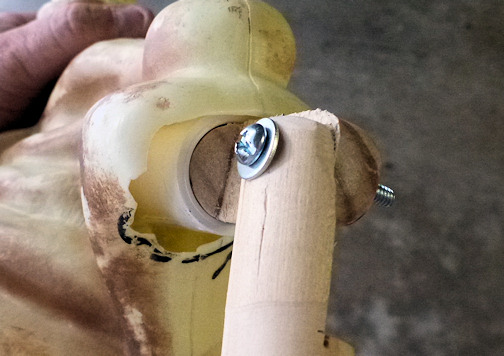
I prefer to use 1" drywall screws to affix the couplers to the pipe as opposed to PVC glue. Above photo is screw being put into the 4 way coupler with the torso flat open.
If you plan to have your skeleton stand up in the grass then you will need to cut a hole in the bottom of the foot notch. This is were the metal rebar will go through.
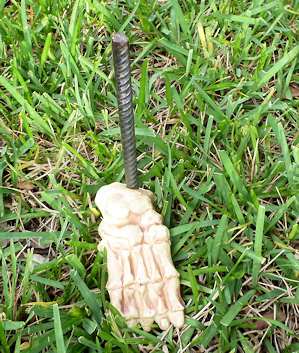
Once you have the rebar firmly in the ground then you may put the foot through it. The PCV pipe of one of the tibia / fibula will fit over the rebar.
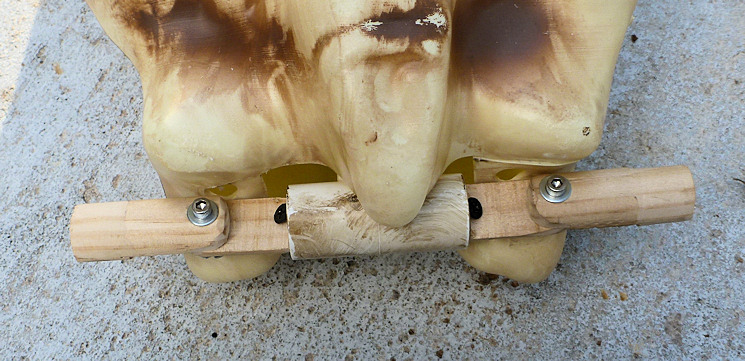
Once I have the wooden PVC joints the way I want them I use drywall screws to hold them in place.
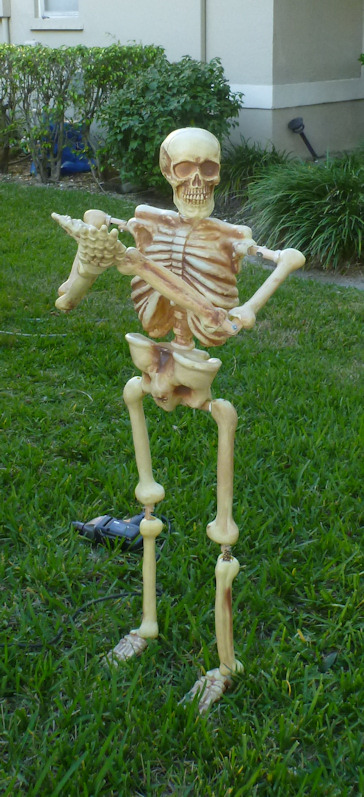
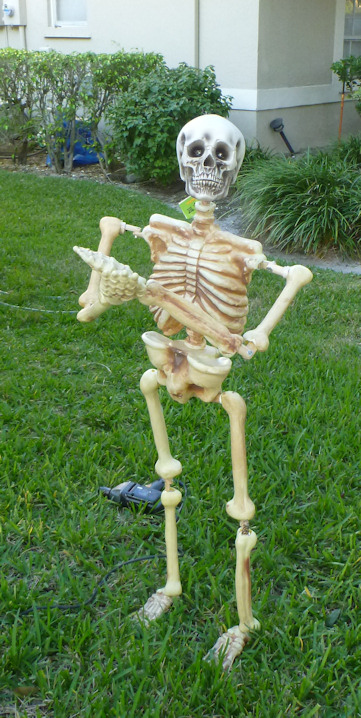
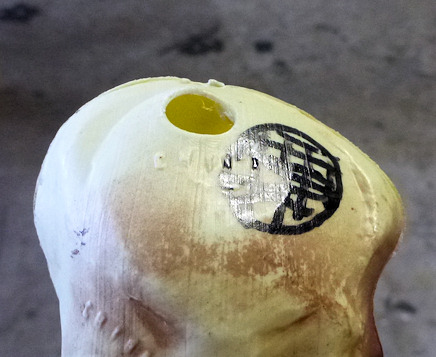
The arms and skull are not in proportion to the body. There are many different size Styrofoam skulls that you may use. The skull in the photo to the right is a little light in color compared to the body. I will use wood stain to get the skull color to match.