The following is just a guideline on how I made an entranceway out of cardboard. I wanted to make something that was easy to put up, take down and to store away. As you know from my other projects I try to make it as cheap a possible. Being cardboard it won't be weather resistant but you can try using Coroplast (corrugated plastic) instead. I wish you luck if you try to build your own entranceway.
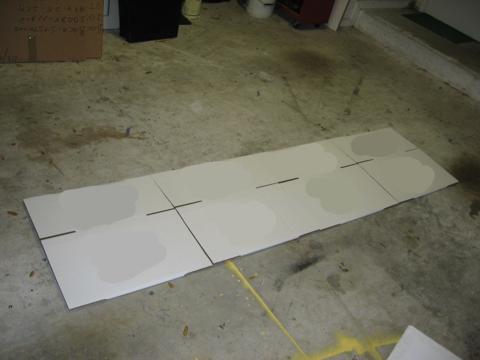

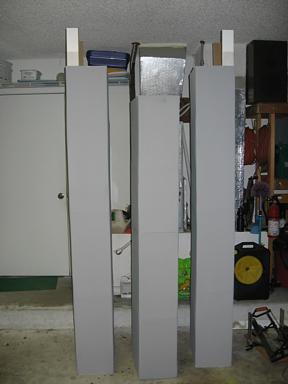
The first step is to lay out the boxes to create your pillar. In this case I used 3 full sized and 1 cut down box. Box size is w=10" x L=13.5" x H=12". The unfolder box hight is 23.5"
Tape the boxes together using packing tape. Tape together on one side then flip over and do the other side. You want to do the same for the second pillar.
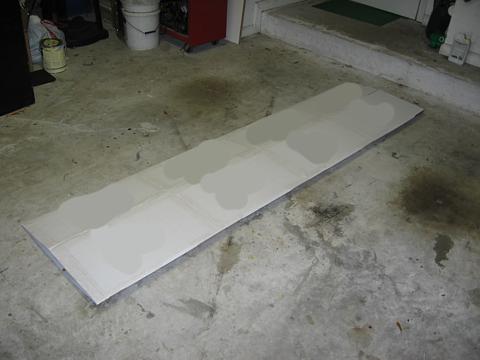
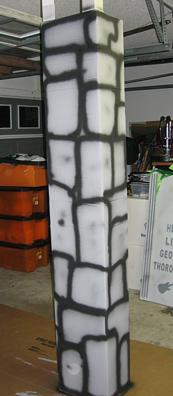
Above shows one pillar completed.
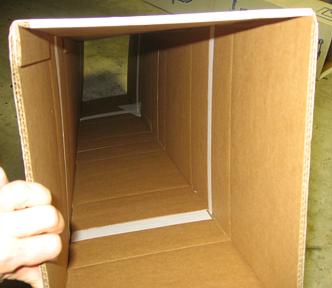
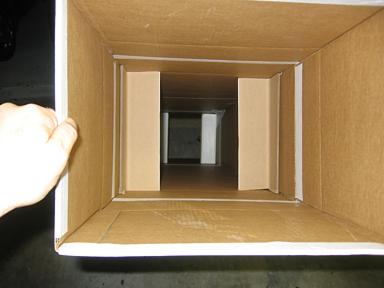
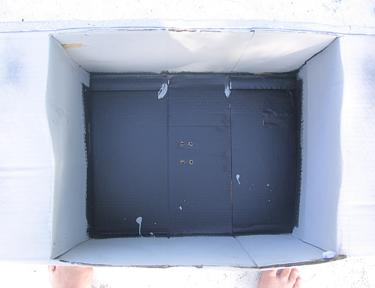
Here is the inside of the pillar when you open up the boxes. With no inside support it will collapse flat.
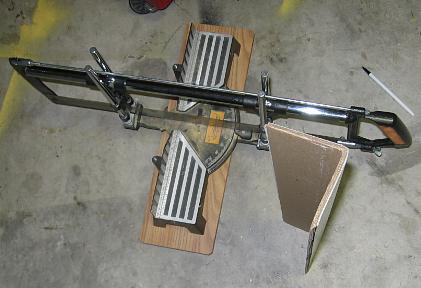
To prevent the boxes from collapsing you need to install some sort of stiffener. In this case I used very stiff L shaped cardboard that was cut down using a Mider saw so I get a nice straight edge.
Once the stiffeners have been cut to size ( you want to make sure you have a snug fit) then it was a matter of sliding them into the pillar. Two were placed near the bottom and two near the top. With the stiffeners in place the boxes won't collapse.

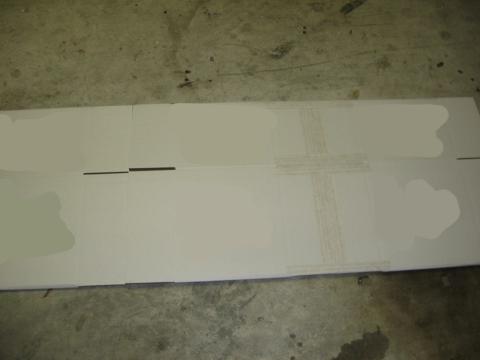
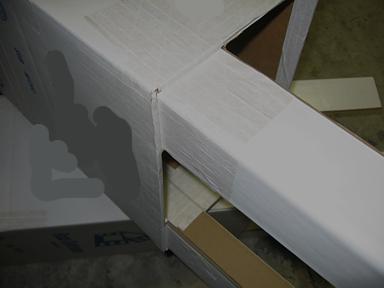
On the outside top corners of the pillar two L shaped cardboard was taped in place these will be used later to secure the pillar to the cross piece. view of the tape being applied to the inside of the box. These will be used a locater tabs.
View of the tape on the outside of the box
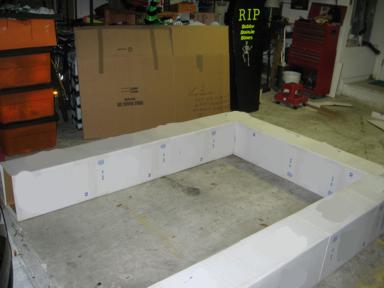
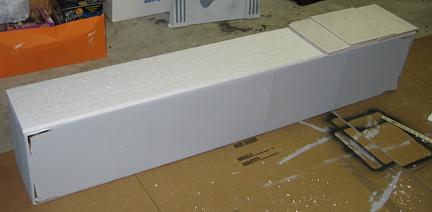
While laying on it side the two pillars were attached to the crossover piece to make sure everything fit properly.
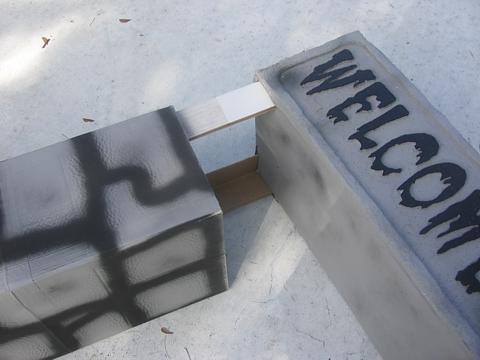
The pillars and crosscross piece were painted gray. You want to use light coats of pain as heavy coats will cause the cardboard to distort. Black spray paint with the nozzle held about an inch away from the surface was used to create the rock pattern. Then used a little over-spray to give it that dirty look.
Perron Halloween Productions copyright 2007-2009
A sheet of 1" thick Styrofoam was glued (Liquid Nail) to the front face of the crossover piece. Floor tiles were used to weigh down the Styrofoam until the glue had dried.
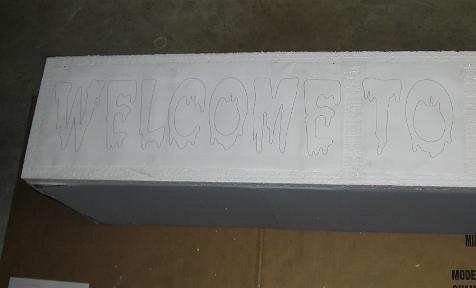
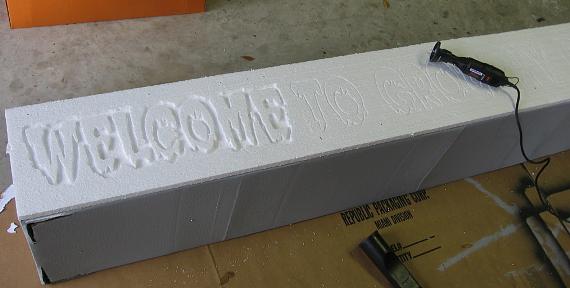
Using Word for Windows the desired font and letter height was printed up. The font used was found for free on the internet as most Halloween fonts are. Set your page setup ot "Landscape". Since only 3 letter would fit on a page, multiple pages had to be pieced together.
A Dremel with a 565 Multipurpose Cutting Kit attachment was used to cut the outline of the letters. A Shop Vac was used while cutting to keep the Styrofoam dust down to a minimum.
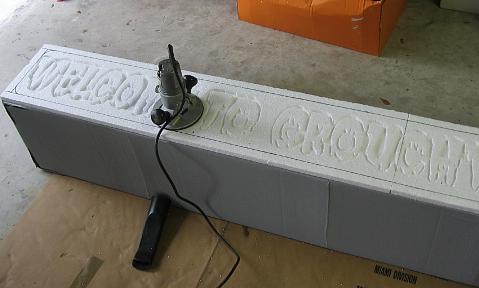
Once the Dremel work was done a larger router was used to remove the rest of the material. Use a test piece of Styrofoam to make sure you get the correct height between both tools.
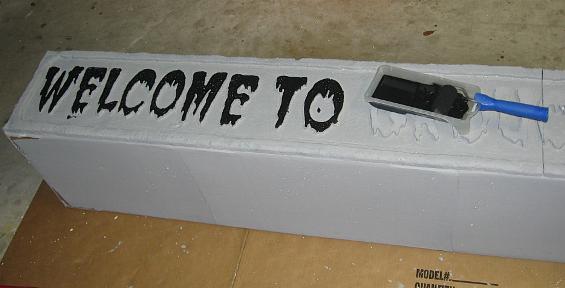
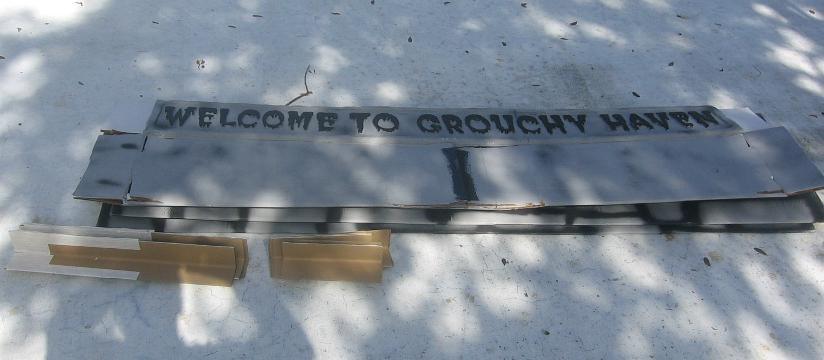
Once all the material was removed the Styrofoam was painted gray and the letters were painted black.
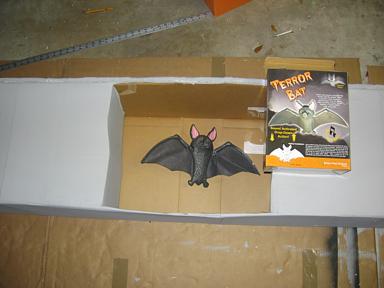
The bottom middle part of the crossover piece was cut out to allow a drop down bat to be installed.
The bottom of the crossover piece was cut so the flaps would touch the top part when pushed in they. This stiffened the center section.
As you can see from the photo the corner of the crossover piece were cut out to allow the locator tabs of the pillar to fit in.
Once done its a matter of removing the stiffeners and locator tabs from the pillars. Then cutting the end boxes of the cross piece and everything folds flat for easy storage. When ready to use again just use clear packing tape to tape the locator tabs and box ends back in place.
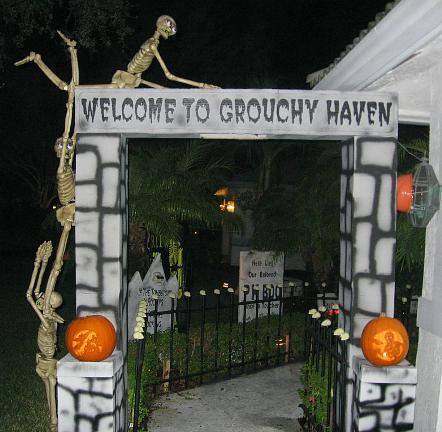
The finished product.