The building of my Bleeding Tombstone was inspired by the one built by Mourning Cemetery. The version I built had the pump and blood well enclosed within the tombstone so it can't be seen.
MATERIALS:
4' x 8' 1" thick sheet of styrofoam. Buy your styrofoam sheet from Lowes. See video link to see what happened when I used sytrofoam sheet from HomeDepot http://www.ustream.tv/recorded/2458211
Pump
Velcro sticky back tape
Liquid Nails
Toothpicks
TOOLS:
Tool for cutting through styrofoam (in this case I used a jigsaw)
Yard stick & Measuring tape
Scissors
Pencil or marker

Perron Halloween Productions copyright 2007-20014
Tombstone Plans (pfd format)


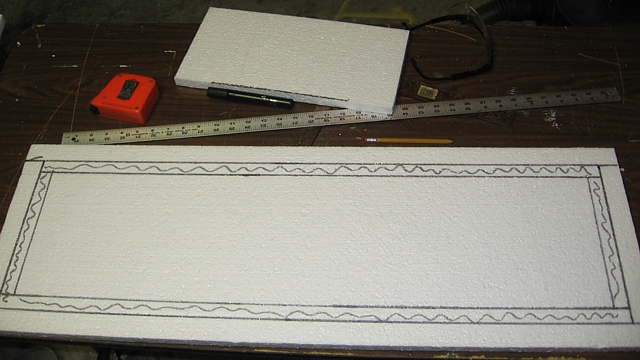
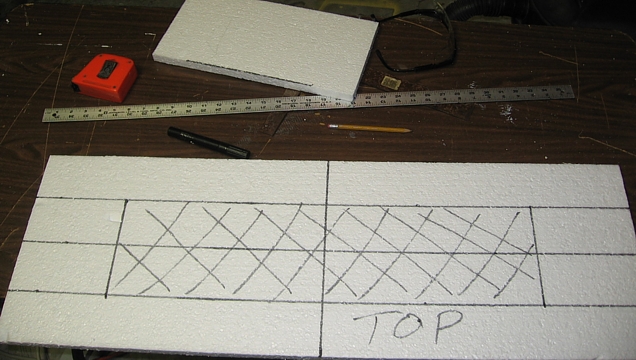
The first thing I did was to cut all the pieces I would need first . This helps speed up the assembly process. While waiting for the glue to dry I would cut the letters out on the front of the tombstone.
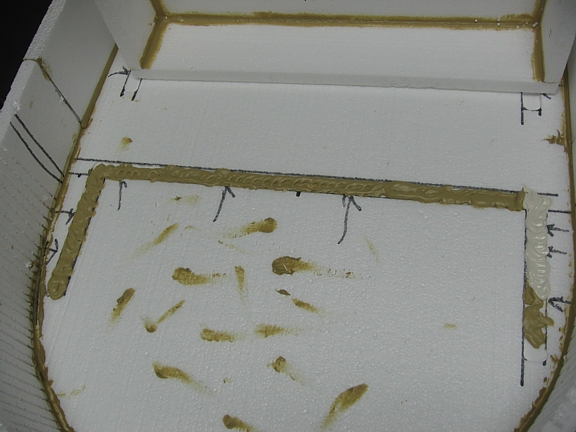
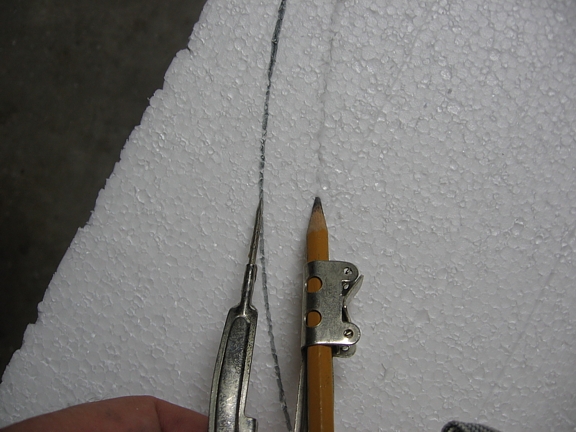
On the bottom part of the tombstone I drew out where the 1/4" recessed slot for the side walls would be cut. I used a Dremel with a 565 Multipurpose cutting attachment to make the slots.
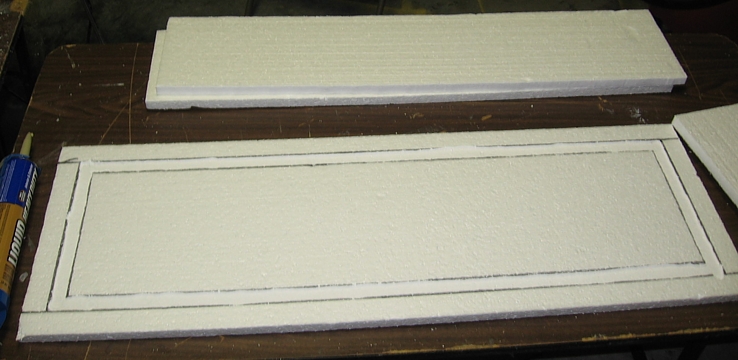
Above photos shows the slots cut out to the same wide at the wall for a tight fit. These slots will prevent the side walls from popping out when the bottom is filled with liquid (blood). Test fit all the pieces before gluing them in place.
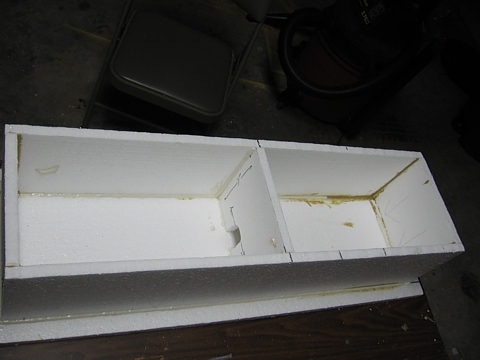
The pieces were glued in place using Liquid Nail. Toothpicks were used to hold the side walls in place once they were gluded
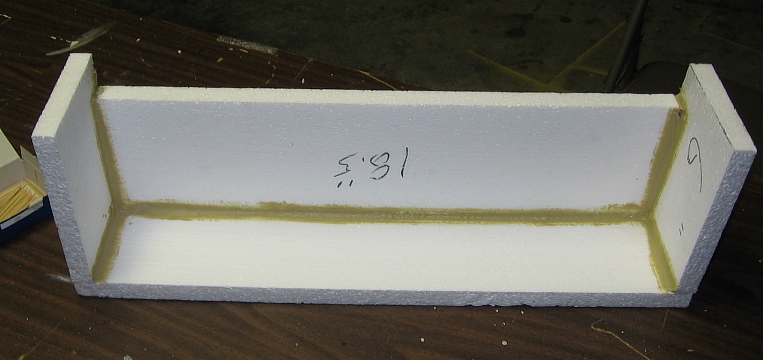
Lower part of the tombstone (water tank) is finished. The middle piece is added to prevent the walls from bowing out when the liquid is added.
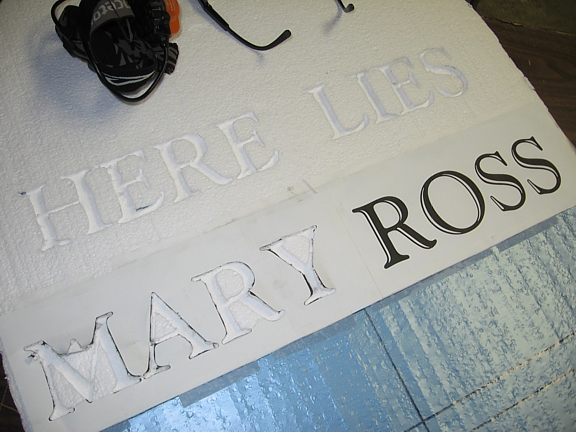
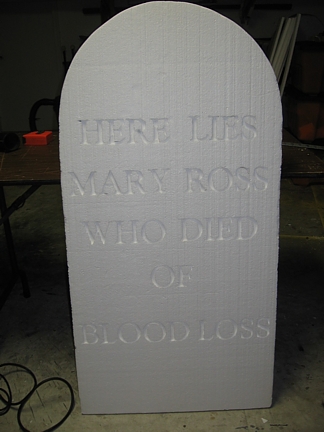
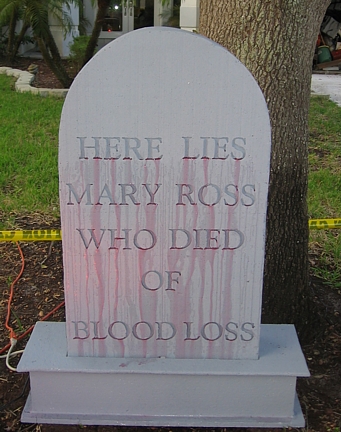
The letter were printed using via Window Word using 260 size Groudy Handtooled BT font. Once the paper was taped down the Dremel was used to cut the letters out. See video link http://www.ustream.tv/recorded/2437565
Finished product.
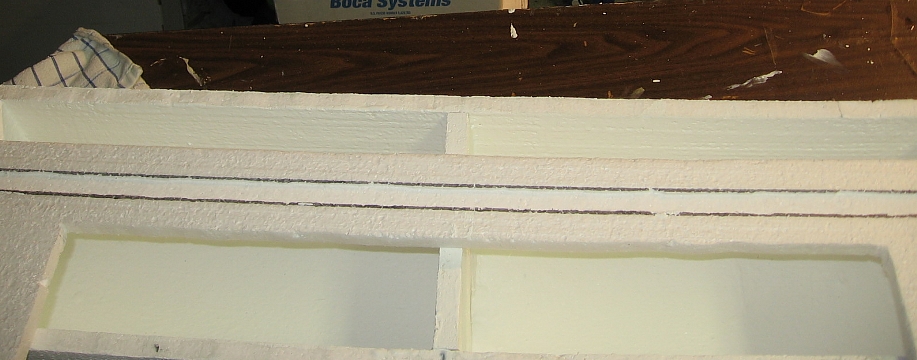
The front piece of the tombstone was flipped over so the slots for the upper water chambers could be cut out. These slot were only cut 1/8" deep as no to cut through to the letters on the other side.
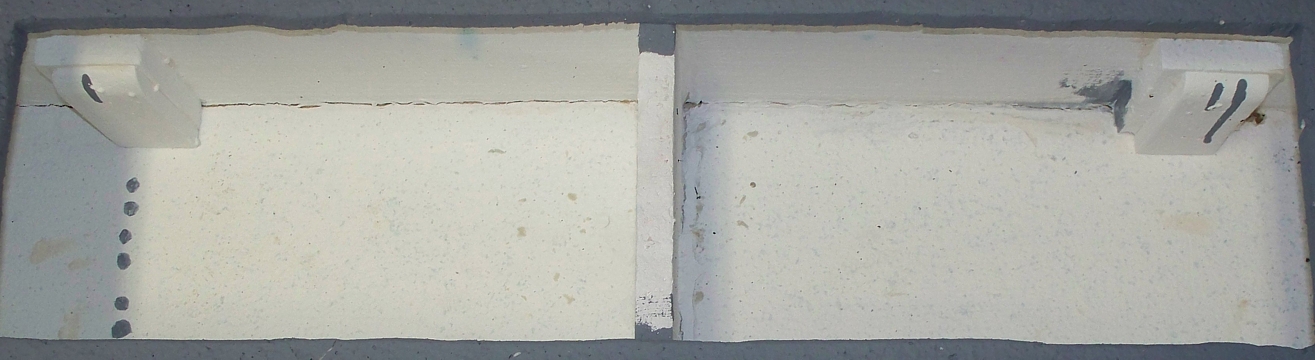
Spacers were glued in place (front and back) to help hold the tombstone in place when it is inserted into the base. Without these spacers the tombstone would flop around.
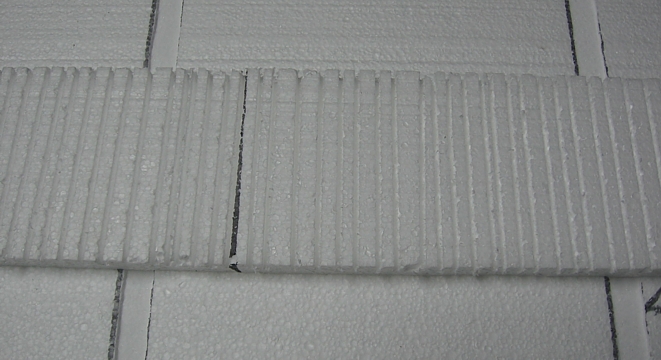
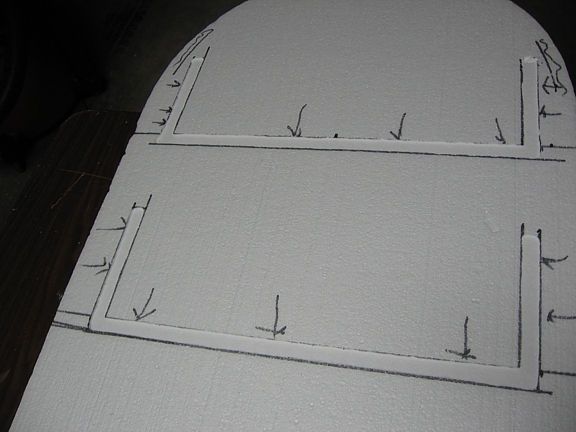
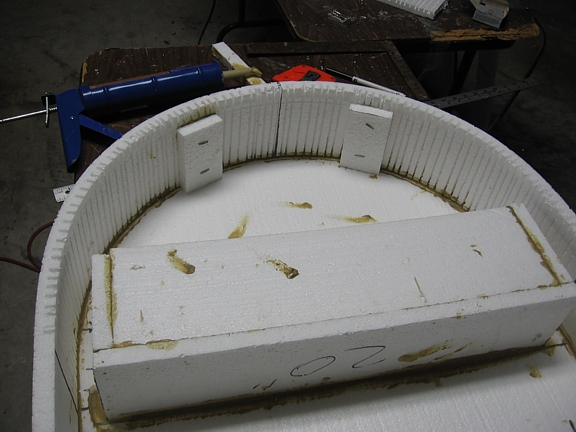
For the part of the tombstone wall that would have to be bent I put 1/4" relief cuts spaced 1/4 apart. This will help prevent the Styrofoam from breaking when bent.
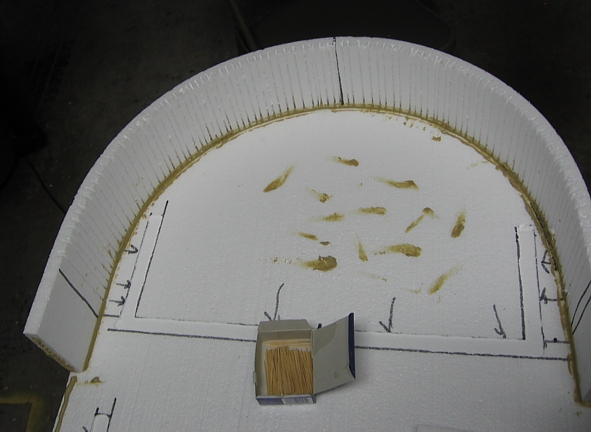
To hold the wall in place I pushed toothpick through the front of the tombstone into the wall. The toothpick in the above photo is purposely not going into the wall so you can see what I did. The toothpicks were spaced about 2" apart.
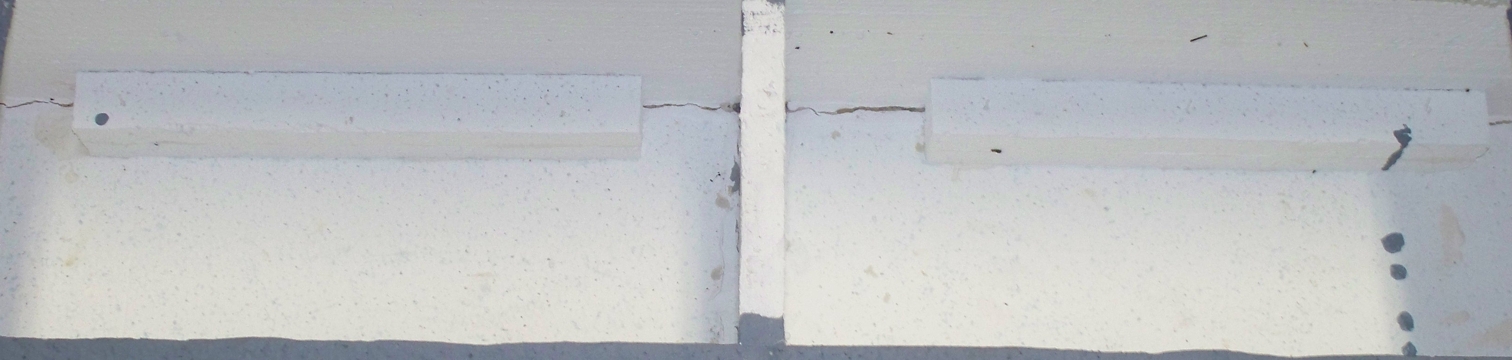
Top part of wall finished.
Walls glued together to form the upper liquid chamber. seal all seams with caulk.
The top cover of the base has a opening cut out in the middle for the tombstone to fit through (above). Slot were cut out on the bottom of the cover for secure fit onto the walls when glued in place (below).
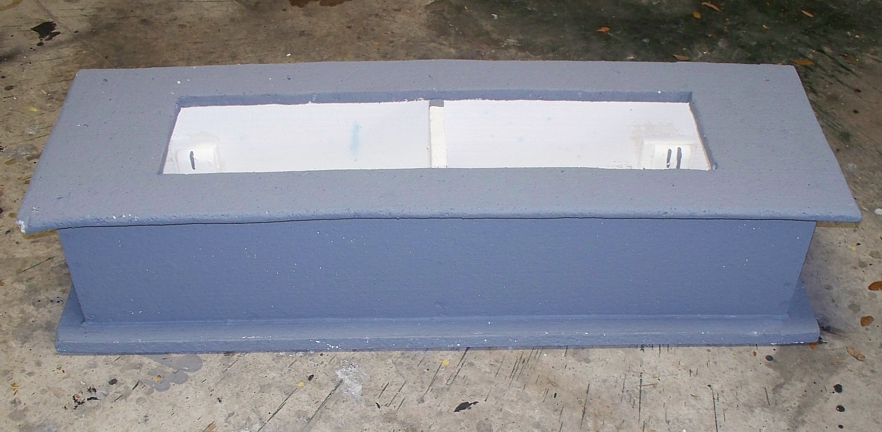
Before gluing the top in place you will need to caulk all seams to make them watertight. You will want to fill the base (holding tank) with water to see if there are any leaks. It's easier to fix leaks now than when the cover is glued in place. Once watertight then glue the top in place. I placed books on top of the lid to hold it down while the glue cured.
Walls finished.
Liquid Nail and toothpicks were used to hold the side walls in place.
Liquid Nail and toothpicks were used to hold the side walls in place.
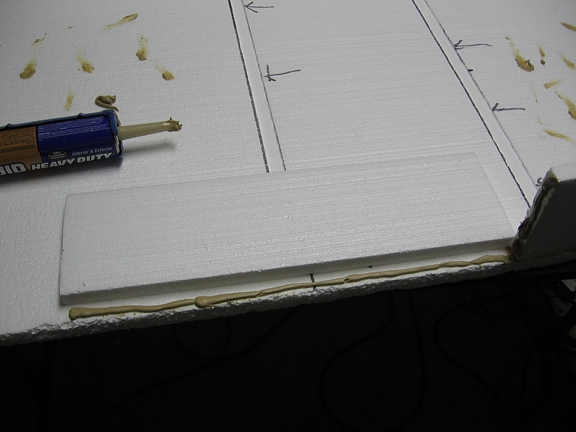
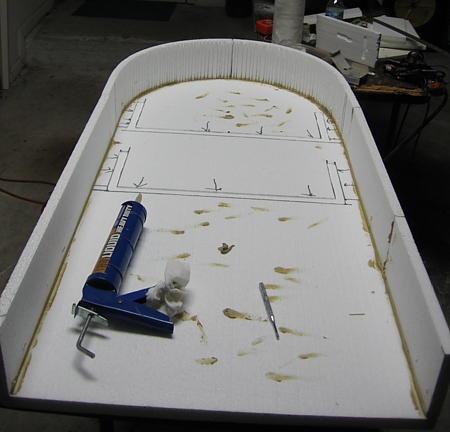
Fill the slot with Liguid Nail.
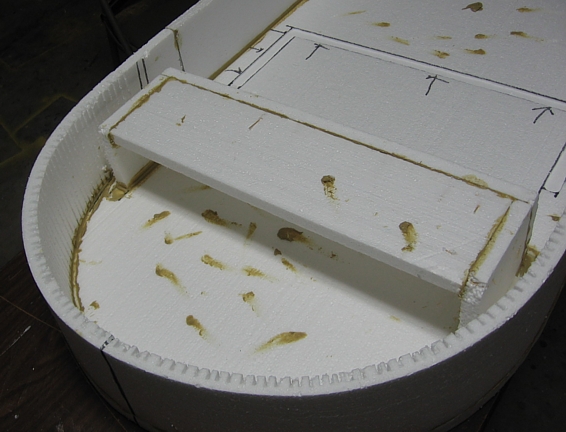
Fit the chamber box in place and use some sort of weight to hold it in place while the glue cures.
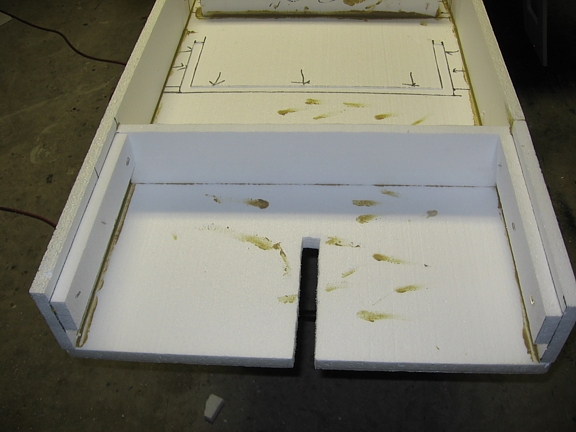
On the lower part of the tombstone spacer were added to help stiffen up the walls as well as provide a place for the back cover to rest against. You will also notice a slot was cut out in the middle to match the support piece in base (water tank).
Spacers were added to the top for the back cover to rest against.

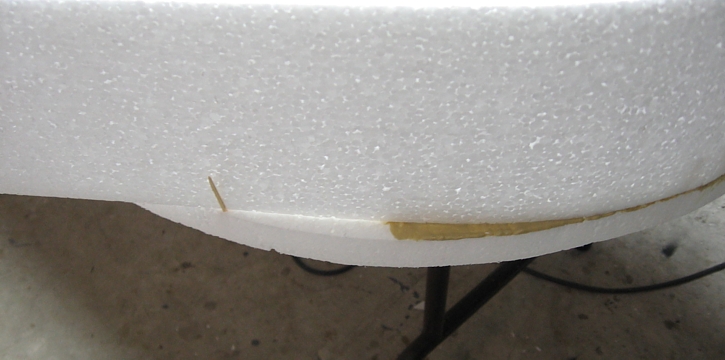
The back cover need to be smaller than the font of the tombstone. How much smaller will depend on the width of your wall. For the round part I used a compass to draw my line.
A small drill was used to put holes in the letters were I wanted the liquid to flow through.
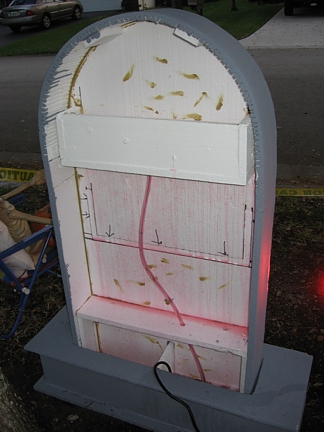
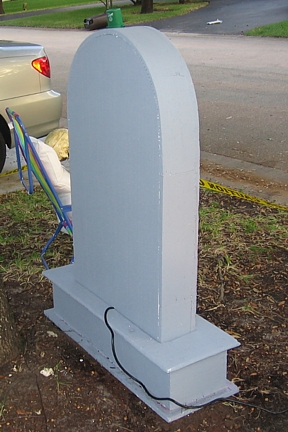
The above photos show the finished product with the pump and hose in place.