
2018 marks the 25th year since Tim Burton's Nightmare Before Christmas was released. In honor of this I made an animated face Jack.
The below guide will show you how to take a animated face Nigthtmare before Christmass Jack. Click on the PDF link to see what size the PVC pipe should be cut to for the frame of the body.
The video projection animation may be purchased from Projected Pumpkins . I used Corel VideoStudio 2018 to mate the music and video together
MATERIALS: (the below items may be found at HomeDepot, Lowes, Ace Hardware.....)
Qty. 2 0.50” x 8.0’ PVC sch. 40 pipe
Qty. 1 1.00” x 3.0” PVC sch. 40 pipe
Qty. 6 0.50” PVC sch. 40 90 degree Elbow
Qty. 2 0.45” PVC sch. 40 45 degree Elbow. Used for elbows of arm, may use 90 degree if you want different arm position. Qty. 1 0.50” PVC sch. 40 S x S x S x S cross
Qty. 1 1.0” x .050” PVC sch. 40 spg x S Reducer Bushing
Qty. 1 1.0” PVC sch. 40 S x S Coupling
Qty. 1 Pair of black boots
Qty. 1 Santa costume
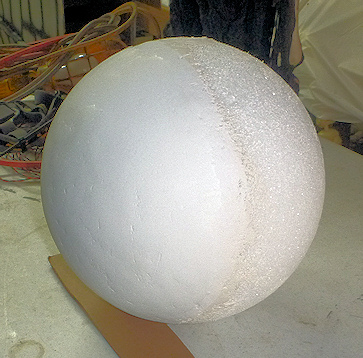
Qty. 1 Round White Ball for Jack's head. Between 8 to 10 inches in good.
Qty. 1 Pair of skeleton hands. I made my own Jack hands.
Qty. 1 projector
Qty. 1 media player to play the video.
Qty. 1 chair to sit Jack in
TOOLS:
Something to cut the PVC pipe with
Sand paper or File. This will me used to smooth any burrs at the end of the PVC pipe when cut.
Tape measure or Ruler
Marker

Perron Halloween Productions copyright 2007-2018
I was able to purchase the above santa suite off of Offer Up for $5.00
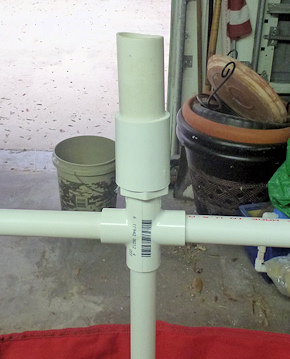
Above is a close up Reducer bushing, 1.0" Coupler and 3" section of PVC pipe put togher for the head to sit on.
Finshed Jack with Santa suite head and hands.
I decided to make my own hands based upon based upon the ones I saw on ThereGoesTheNeighborhood YouTube channel. It showed how to make Jack, Zero and Zero's dog house. Unfortunately the channel is longer there.
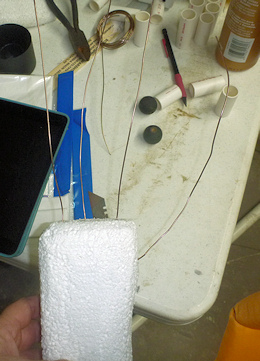
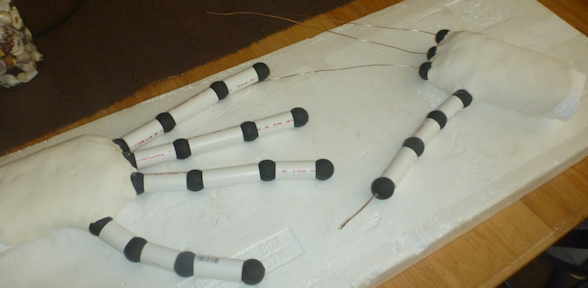
slide the .50" PVC and beads onto the wire.
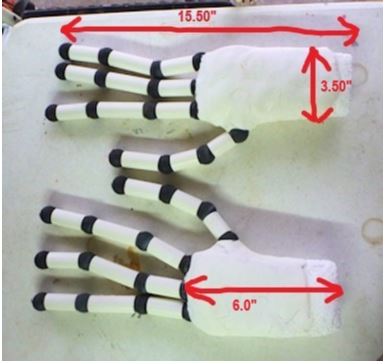
For Fingers: 1st PVC = 1.75", 2nd PVC = 2.50", 3rd PVC = 1.75"
For Thumbe: 1st PVC = 1.25", 2nd PVC = 1.75", 3rd PVC = 2.0"
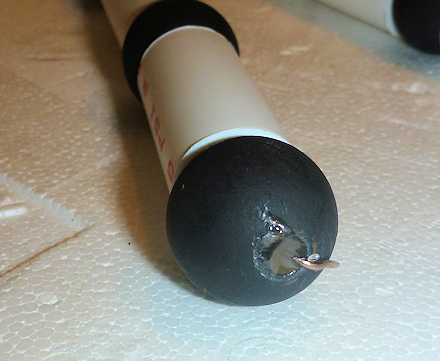
For the last bead, take up all the slack between the pvc and beads, then bend the wire over and gluded it in place.
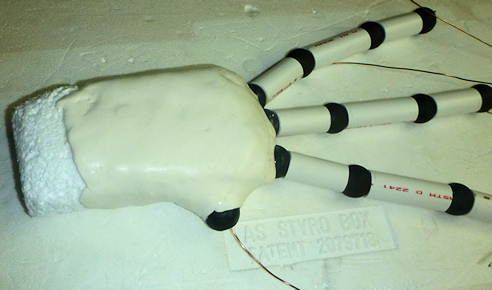
Covered the rest of the hand with clay. I did not go all the way to the
ends because that woud be covered by the sleve of the santa costume.
Above shows the final version of the hands. Note: I forgot to put white clay as the ends of the fingers and thumb. Will do that next year.
I used a 9" styrofoam floral ball that I happen to have. I used drywall spackle on one half of it to create a smooth surface. Projector image looks poor if the surface is rough.

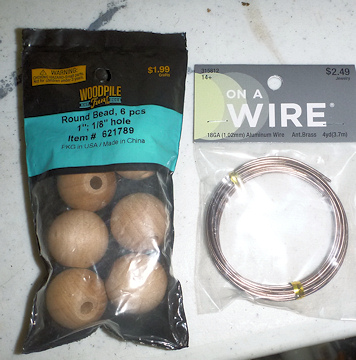
Used 16 round wooden 1" beads with 1/8" hole and stiff wire I found at Hobby Lobby. Painted the wooden beads black.
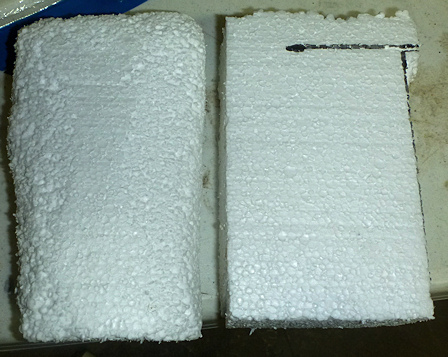
Left side shows the general shape of the hand.
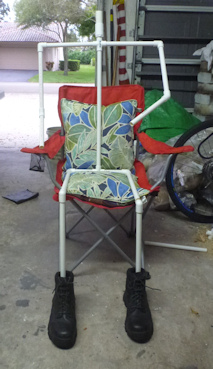
Above is a photo of the PVC frame with black boots. Ued pillows to prop up the frame.
Stuck the wires into the hand using glue to hold them in
place.
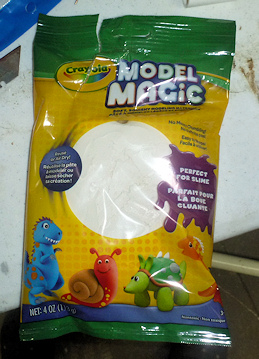
Used two bags of white Crayola Model Magic clay for the outside of the hands.
Glued the first set of beads in plate and used clay to fill in the gaps.
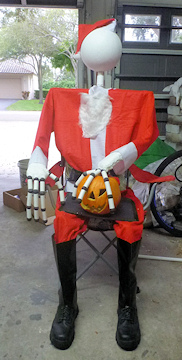
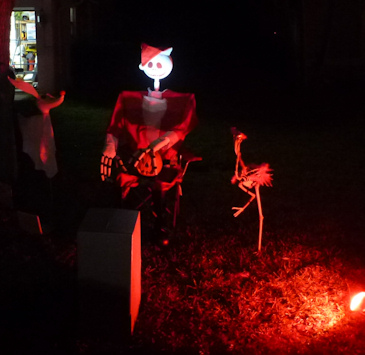
Above is a photo of Jack. The box in front of him housed the projector and the laptop that ran the video.


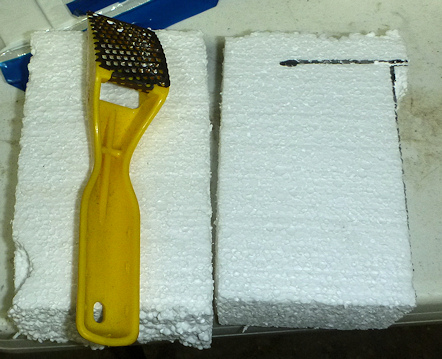
Used some leftover 2" thick styrofoam I use to make my tombstones. Size was 3.5" x 6.0". Used the shaping tool to form the hands.

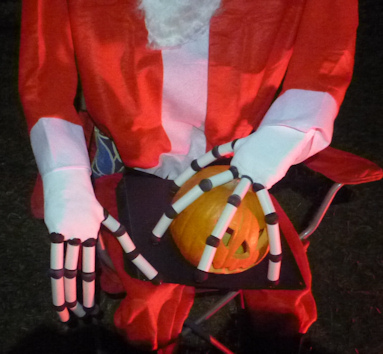
Close up of Jack's Hands
Volume starts out low, so may have to turn up your speakers.